Prepare for Install and Select a Location
Starlink App
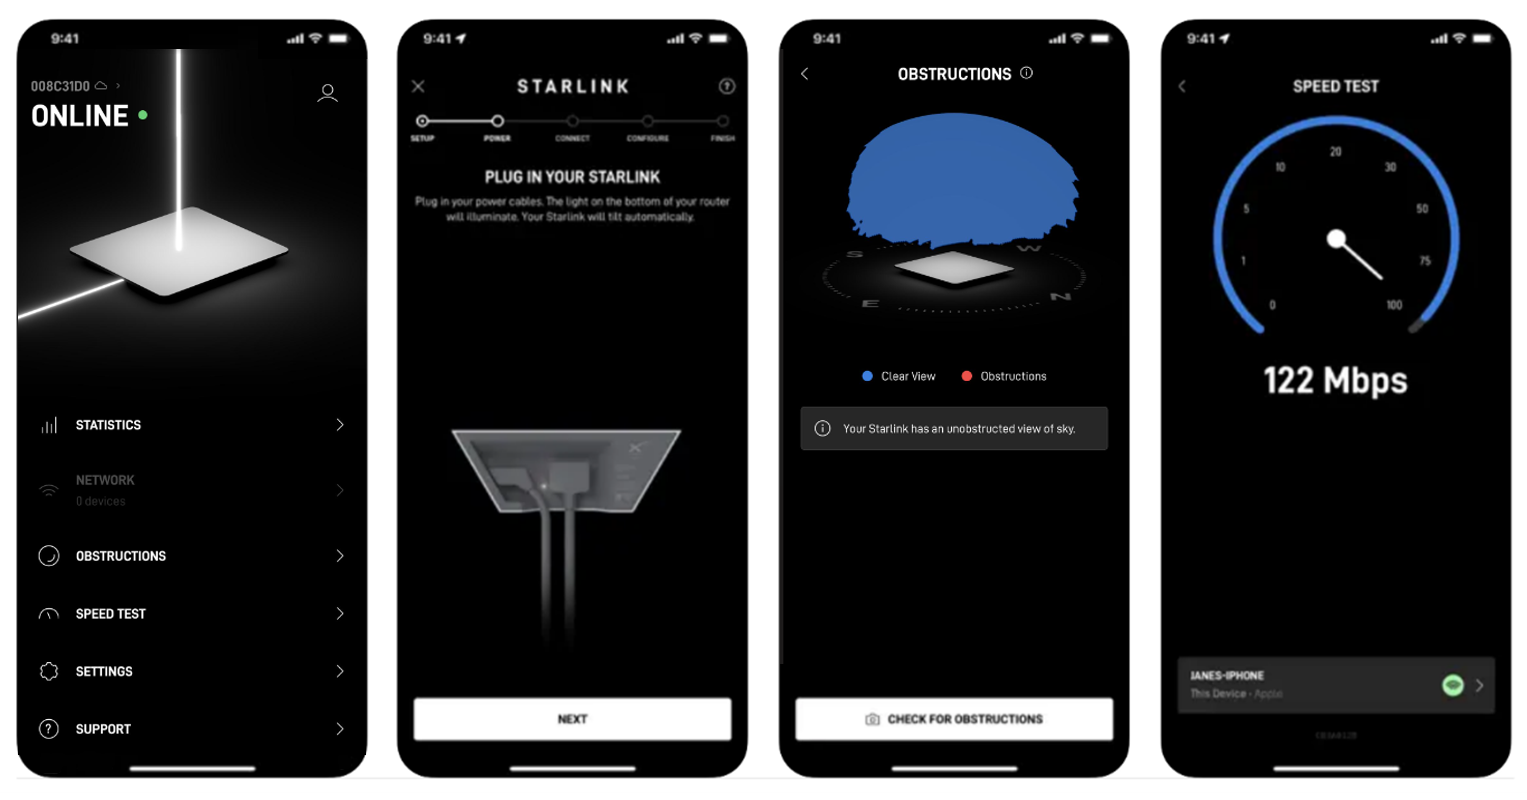
Download the Starlink app first. The app will help you find an unobstructed install location, manage your account, test your connection, and browse the shop.

Select a Location
Use the app to find the set up location that will deliver the best service. Your Starlink needs a clear view of the sky so it can stay connected with satellites as they move overhead. Objects that obstruct the connection between your Starlink and the satellite, such as a tree branch, pole, or roof, will cause intermittent outages and dropped packets.
Starlink must be 100% unobstructed for best performance. Even small obstructions in the field of view will have a negative impact on the quality of the connection, including intermittent outages, dropped packets or sessions, and a reduction in overall average bandwidth capacity.
Each dish should have clear view of the sky from around 20° elevation (above the horizon), with a full 360° azimuth (rotation). If there are obstructions to the field of view, multiple dishes can be used, and load balanced with a 3rd party router. However, any dish with obstructions will result in lower than the rated performance (i.e. bandwidth throughput) from that dish. It is of utmost importance to install in a location with a clear view of the sky.


Customers have been successful installing Starlink on masts, railings, elevated posts, and roofs, since the dishes are less likely to be obstructed and are better protected from salt spray.
If your Starlink will not be the tallest object in sight at the install location (most cases), download the Starlink app to Check for obstructions (trees, poles, masts, etc.) that might interrupt your service. The app will help you be sure you are assessing obstructions accurately.
Follow these additional guidelines for choosing your best install location:
- Do not install next to a wall or other structure
- Do not install under a covered outdoor area
- Consider an elevated install (for example, on a pedestal, post, or rooftop) as the height improves the chances of clearing nearby obstructions
Updated about 2 months ago
