Fixed Location (OLD)
Quick Start Guide
Find an unobstructed location
Starlink must be 100% unobstructed for best performance. Even small obstructions in the field of view will have a negative impact on the quality of the connection, including intermittent outages, dropped packets or sessions, and a reduction in overall average bandwidth capacity.
Be sure to use the Obstruction Tool in the App as described in the Find a Location section before proceeding.
Unbox and Plug in
Your High Performance Starlink Kit will arrive with everything you need to get online in minutes including your Starlink, WiFi router, cables and base. See the Starlink Specification for more details on what’s in the box.
- Connect cable to Starlink
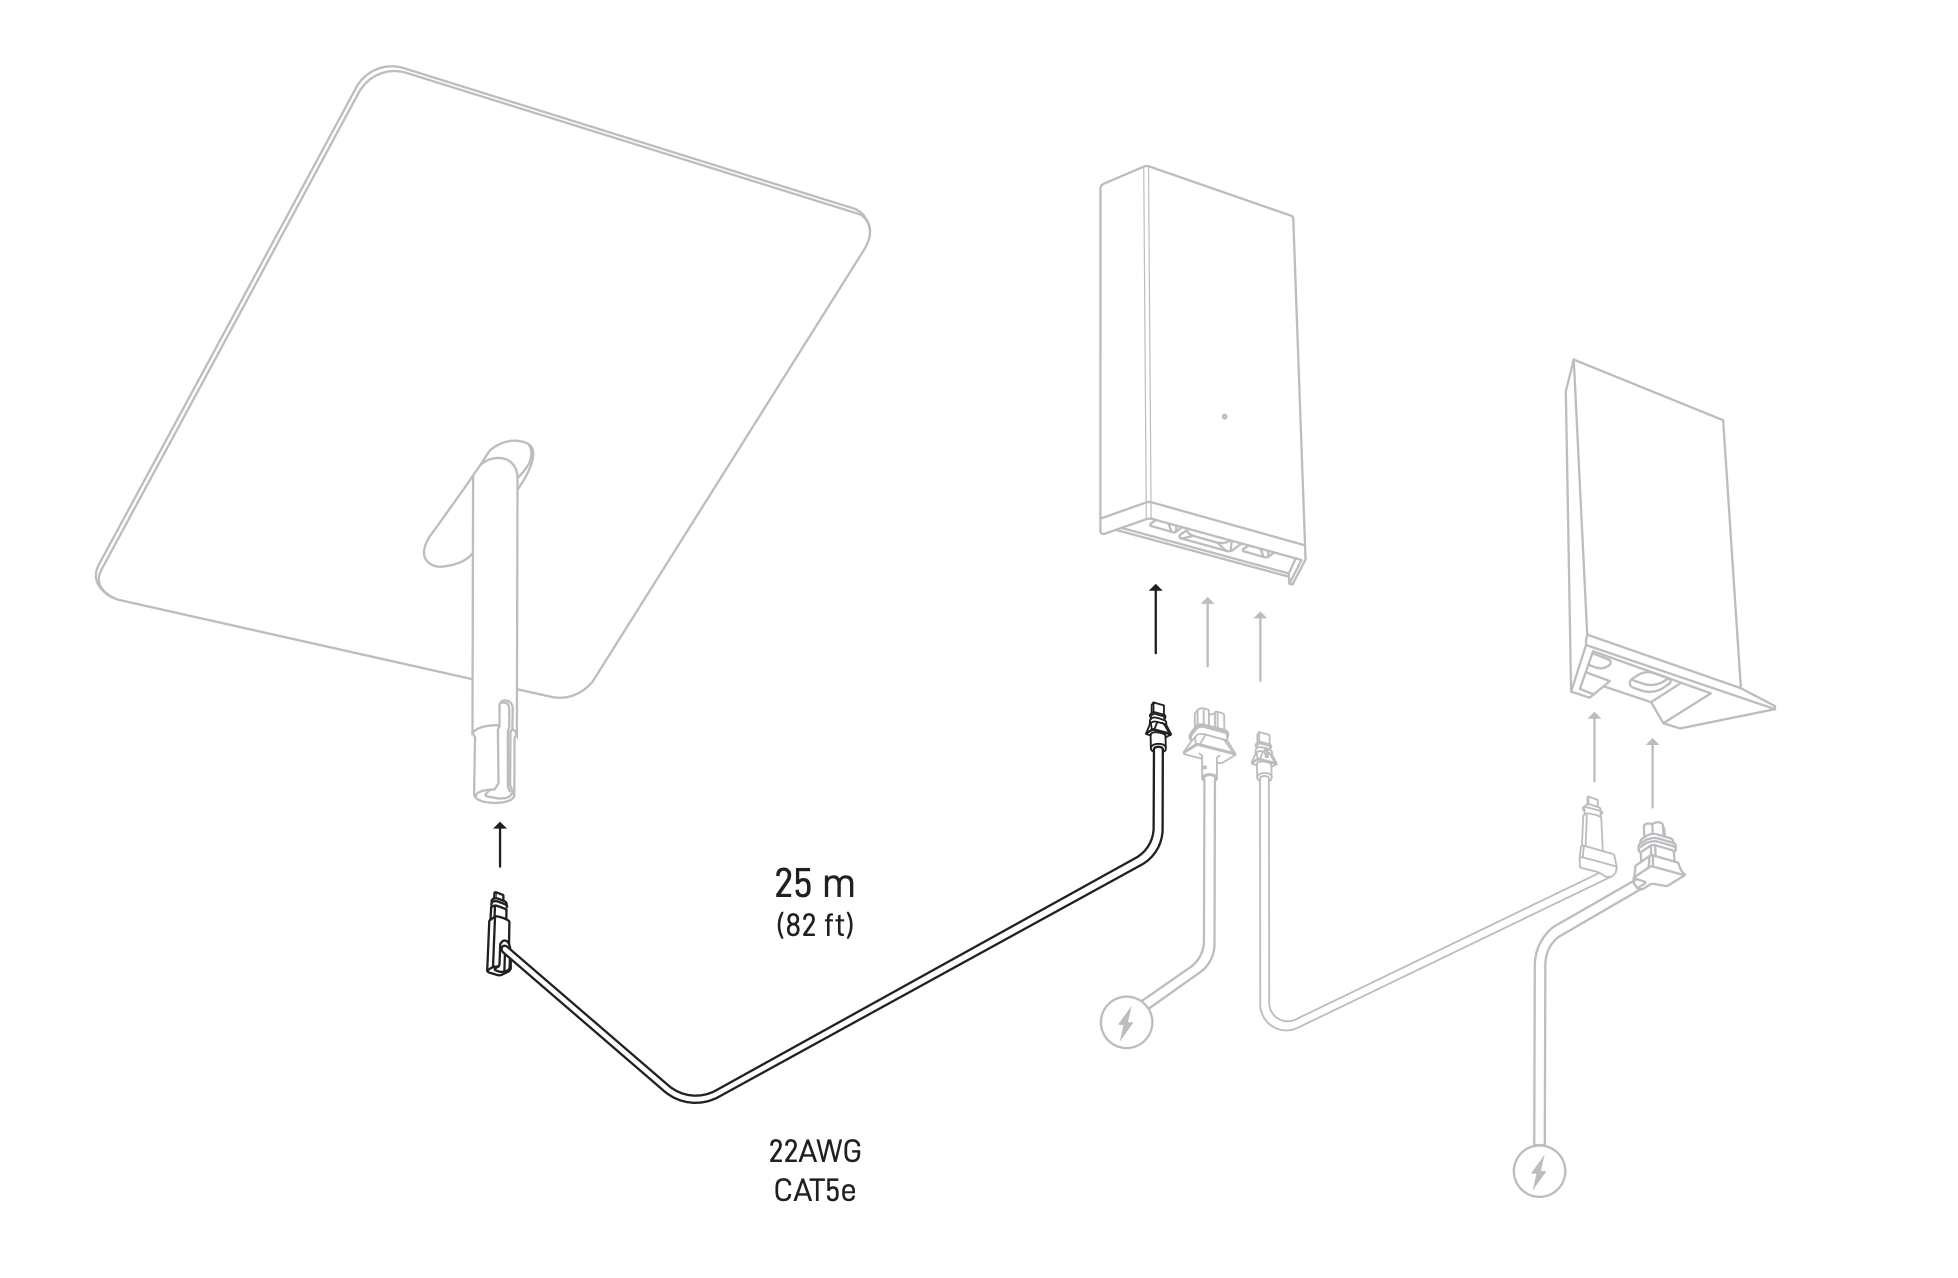
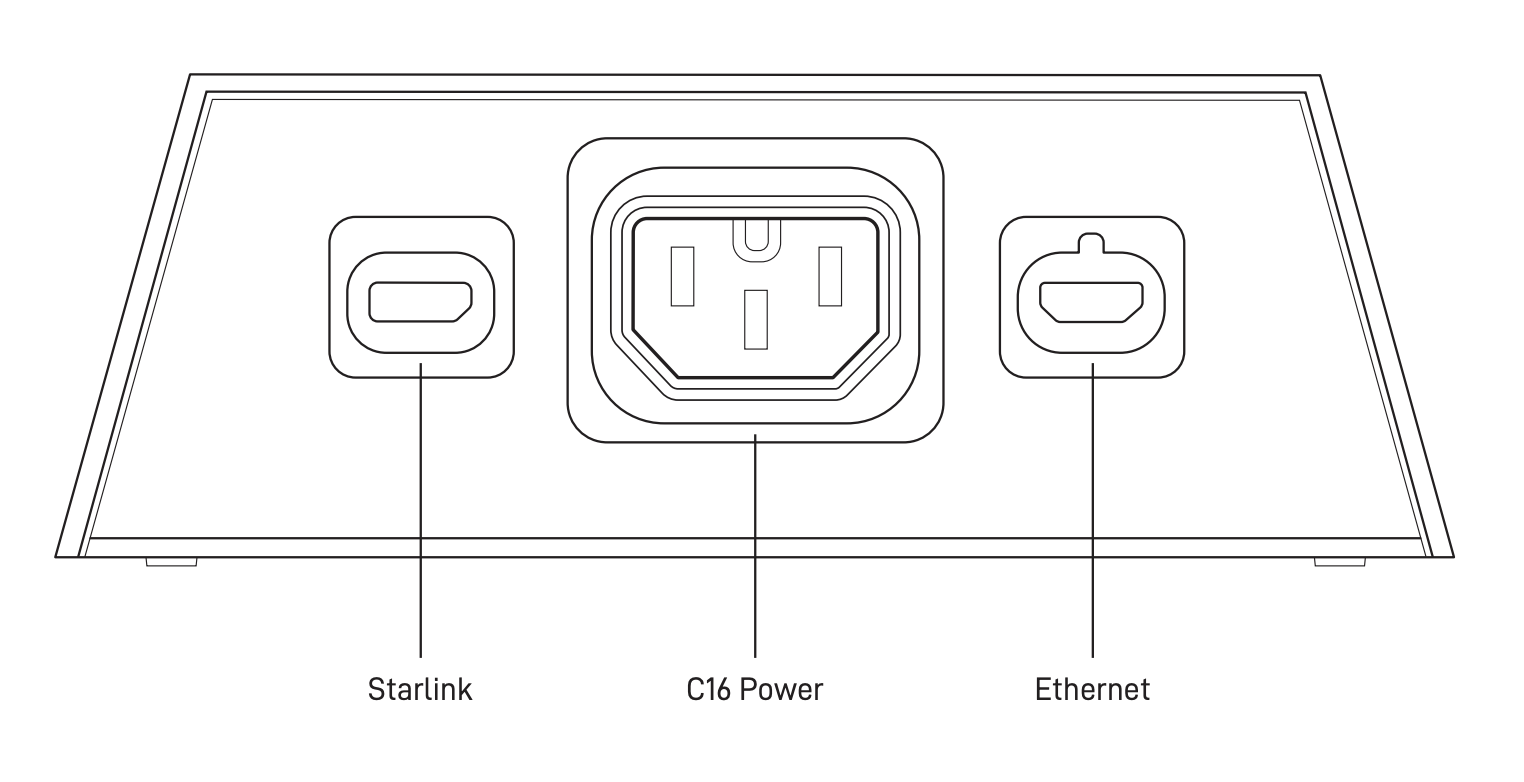
Power Supply outlets:
- Set Starlink into base (in the location you found above)
- Connect cables to the router and plug into power
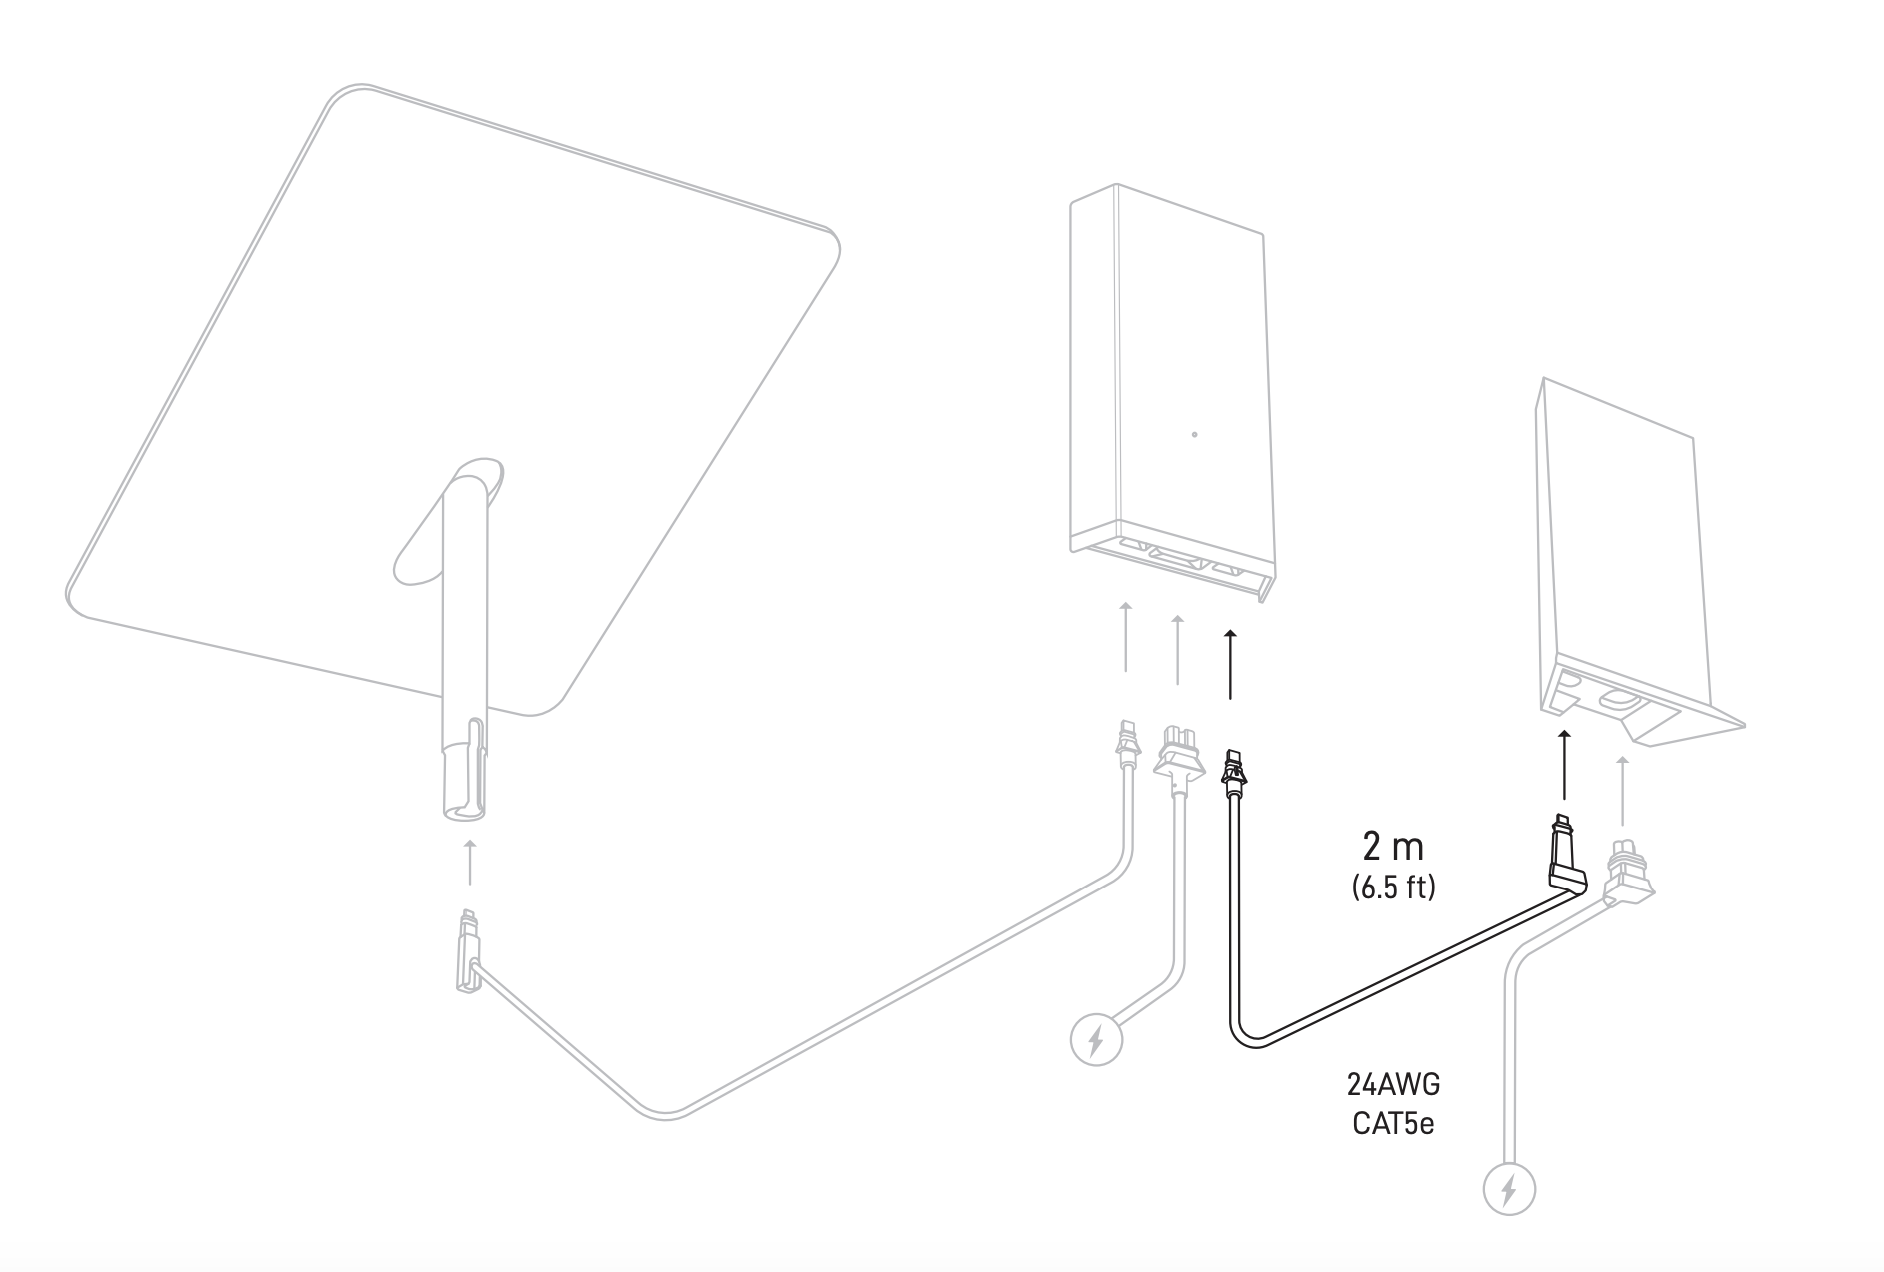
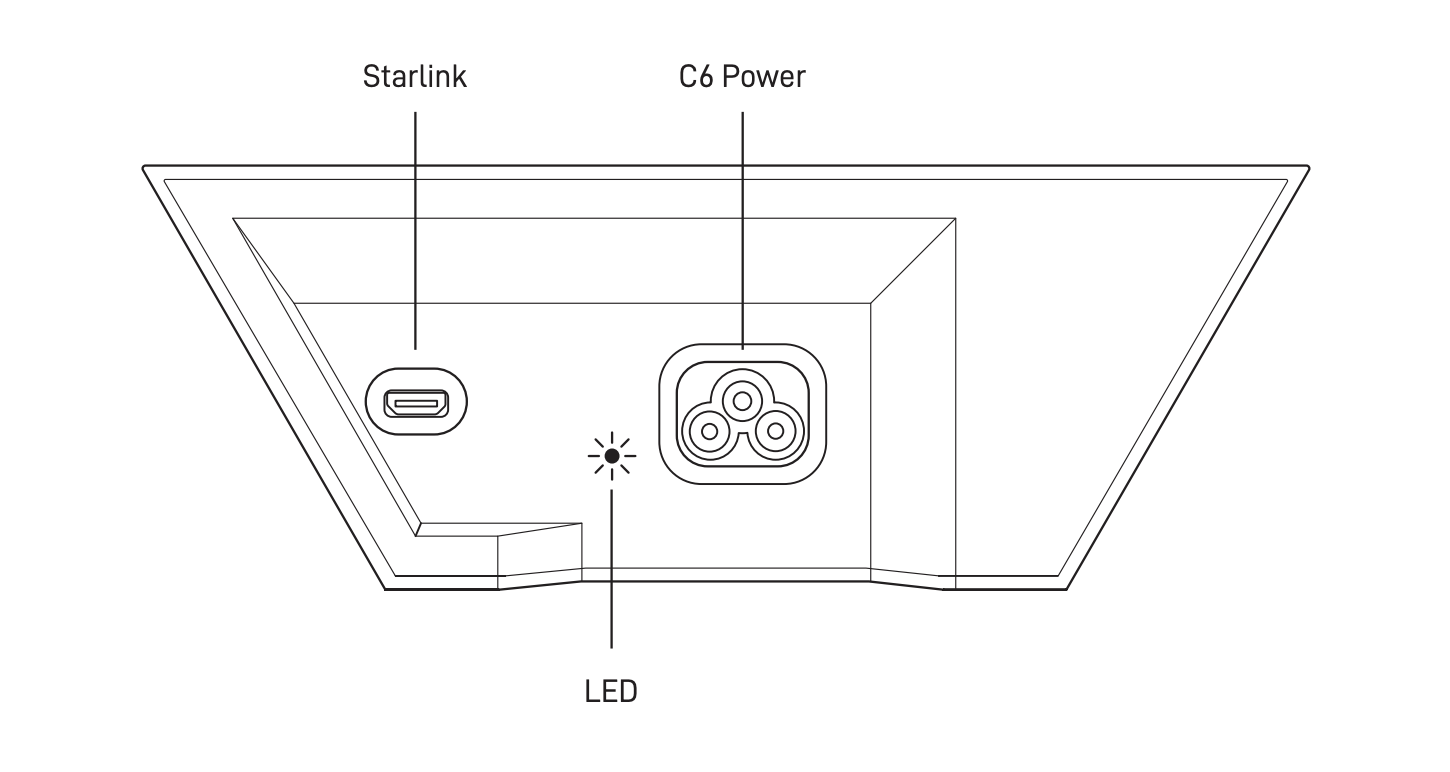
Router outlets:
- Starlink will automatically level itself to search for satellites overhead. Do not attempt to manually adjust your Starlink.
- After a few minutes, Starlink will make an initial connection to the Starlink constellation and tilt to the optimum angle for satellite coverage.
Connect to WiFi (Starlink Router Only)
- Stand close to the router, open the Starlink app, and tap ‘Start Setup’.
- This will guide you through the setup and prompt with WiFi configuration steps like setting a Network name and password.
- No Starlink app? Find and connect to the STARLINK network in your device’s WiFi settings.
- Confirm you are connected by navigating to a website, watching a video, or running a speed test from the app while connected to Starlink. You will see an ONLINE status on the main screen of the app.
- We recommend using the Starlink router for initial setup confirmation. If using a third party router, you will need an ethernet adapter. See the WiFi section for additional guidance
Test Your Connection
After a few hours of connection, the Starlink app has had time to collect more data.
- Starlink Stats: From the Starlink app in the “Statistics” section, or by typing dishy.Starlink.com into any web browser, you can check statistics like speed, uptime, latency, outages, and alerts while connected to the Starlink router.
- Obstructions: Check to see where you may have obstructions causing intermittent service.
- WiFi Range: View the signal strength of each connected device from the Network screen, use the Range tool to test WiFi signal throughout your home, and run a speed test.
- Support: If you are having issues with setup, review the guidance in the Troubleshooting and Setup sections in Support. It may take up to 20 minutes for Starlink to connect.
Fixed Business
Mounting your Starlink in a higher location can help prevent obstructions and improve network performance. If you are installing Starlink in a fixed location, use the Pipe Adapter Mount to elevate the dish. Mounting accessories are available for purchase in the "Shop" tab of your Starlink account.
Video
Here is a quick overview of Starlink installation for the Standard hardware:
Additional Mounting Options
Click on the link below to see additional mounting options.
Cable Routing
Carefully route Starlink cable from the outside in without significantly bending it or jamming the connector. The dish cable is designed to fold flat to minimize the size of the hole required to pass through the wall. The maximum diameter needed for the cable to fit through the wall is 19.05mm (¾”). Damages to the cable could impact your quality of service so be sure your cables remain free of kinks, debris, or door-jambs. The cable is not rated to be buried or under water.
Longer cables are routing kits are available for purchase in the Starlink Shop.
Starlink Cable Routing Kits
Cable Routing Kit
Designed for drilling through most walls. Not recommended for masonry, concrete, or hard coat stucco. Best for customers with prior internet cable routing experience and installation; must be comfortable drilling through walls. Kit includes a 3/4" (1.9 cm) spade bit, drill bit, cable routing tool, silicone sealant, grommets, and wall clips.
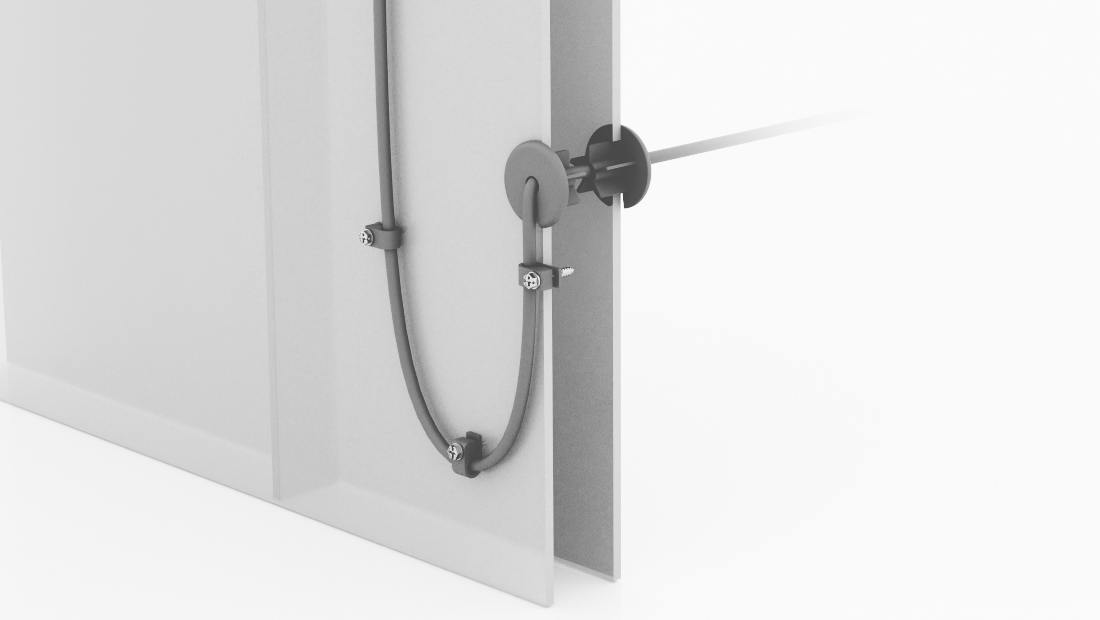
Tools Needed: Drill, Stud / Electrical Finder
Package Dimensions: 3.75" x 5.25" x 1.75" / 34.9 x 13.3 x 4.4 cm
Package Weight: 0.83 lbs / 0.38 kg
Masonry Routing Kit
Designed for drilling through masonry, concrete or hard coat stucco (excluding EIFS) walls. Best for customers with prior internet cable routing experience and installation; must be comfortable drilling through walls. Kit includes a 3/4" (1.9 cm) spade bit, drill bits, cable routing tool, silicone sealant, grommets, and wall clips.
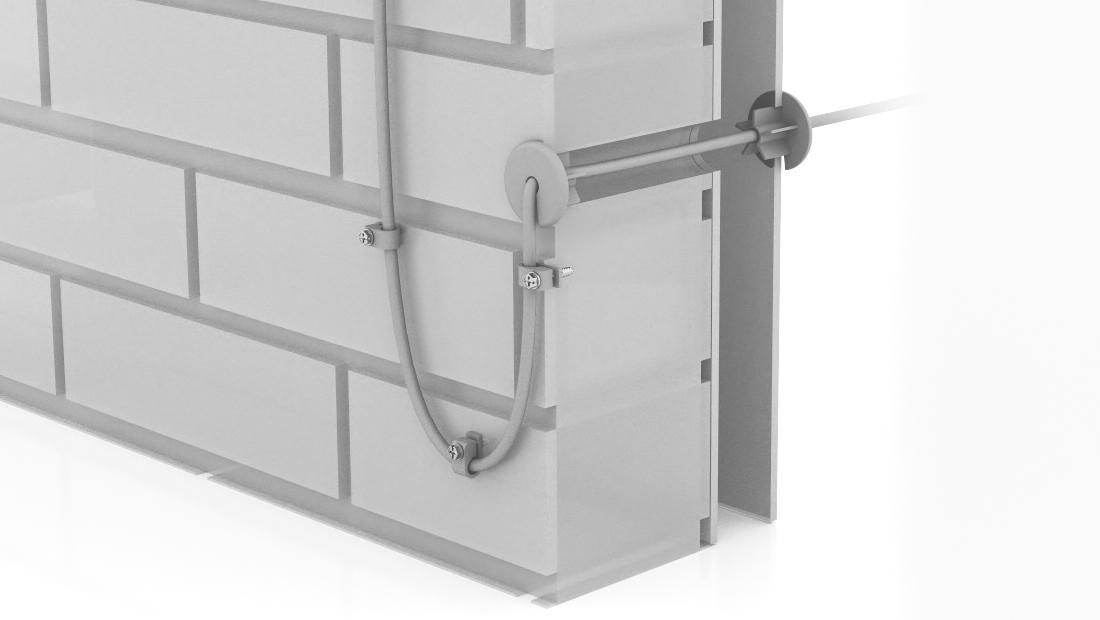
Tools Needed: Hammer, Hammer Drill, Phillips Head Drill Bit, Stud / Electrical Finder, Goggles, Gloves, and Mask
Package Dimensions: 13.875” x 6.5” x 1.75” / 35.2 x 16.5 x 4.4 cm
Package Weight: 2.1 lbs / 1 kg
Next Steps
Proceed to the section.
Updated almost 2 years ago
